
Managing your finances can feel daunting, but creating a simple income and expense worksheet is a fantastic way to gain control over your money.
The good news? You don’t need to be a technical whizz or a spreadsheet expert to build one. This step-by-step guide will walk you through the process gently, and by the end, you’ll clearly understand your income and spending habits.
It is a tool you can tweak to fit your needs.
Why Create an Income and Expense Worksheet?
Before diving into the “how,” let’s discuss the “why.” Having an income and expense worksheet helps you:
- Track your spending habits: Know exactly where your money is going.
- Identify patterns: Are there certain expenses that could be cut down?
- Plan for the future: A worksheet can help you budget and save for your goals.
- Reduce stress: With a clearer picture of your finances, you’ll feel more in control and less worried about money.
Before creating The Money Principle Monthly Budget Planner, a kind of income and expense worksheet, I had no idea how much I earned or how much we spent on what. This likely contributed to the monster debt we paid off in 2013.
Now, let’s get into how you can create this financial tool yourself, step by step.
How to Create an Income and Expense Spreadsheet: a step by step guide
Step 1: Choose Your Format
The first decision is what format you want to use for your worksheet. You have a few options:
- Pen and paper: If you’re more comfortable with traditional methods, you can write out your income and expenses by hand in a notebook or ledger.
- Spreadsheet software: Most people prefer using spreadsheets, such as Excel, Google Sheets, or Apple Numbers. These programs are easy to use and can automatically calculate totals for you.
- Budgeting apps: If you’d like a pre-built template with digital features, explore apps like YNAB (You Need A Budget), but the steps below will guide you in building your own from scratch.
Here, I’ll focus on using a spreadsheet, but feel free to adapt these steps if you prefer paper or an app.
Step 2: Create Your Spreadsheet
Open your spreadsheet program of choice and create a new document. Label the first sheet “Income and Expenses.” This will be your primary worksheet, where you’ll record all your financial data.
Example Setup
| Month | Income | Expense | Category | Balance |
| January | 3,500 | 2,500 | Rent, Bills | 1,000 |
| February | ||||
| March |
Leave some room at the top for headings and labels. You’ll be filling in the details as you go along.
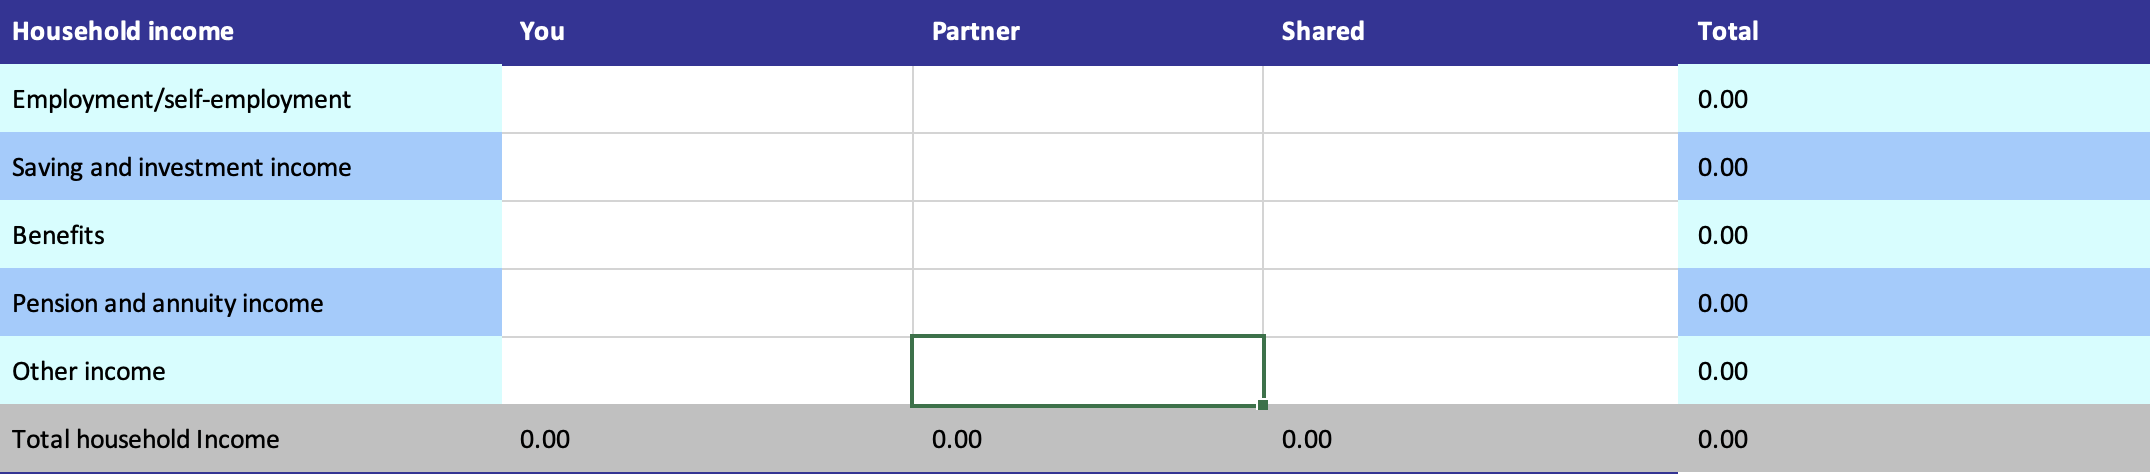
Step 3: Add Your Income
In your first column, list all sources of income. This could include:
- Salary or wages: From your full-time job, freelance work, or part-time gigs.
- Other income: Side hustles, rental income, dividends, child support, or government benefits.
Example:

Tip: If your income fluctuates, like for freelancers, estimate a conservative average to avoid overestimating.
Step 4: List Your Expenses
Next, move on to tracking your expenses. These are the costs of living and any discretionary spending that occur during the month.
Categories to Include:
- Fixed expenses are predictable costs like rent, utilities, or insurance that remain the same each month.
- Variable expenses: Groceries, gas, and entertainment can vary monthly but are still essential to track.
- Discretionary expenses: These are non-essential costs, such as dining out, hobbies, or new clothes.
- Savings and investments: Even though these are technically not “expenses,” listing them here is helpful because they affect how much disposable income you have left.
Example:
| Expense | Amount |
| Rent | 1,200 |
| Utilities | 150 |
| Groceries | 300 |
| Entertainment | 100 |
| Savings | 200 |
| Total Expenses | 1,950 |
You can get more granular by creating subcategories within each type of expense if you want more detail.
Step 5: Calculate Your Balance
Now, subtract your total expenses from your total income to calculate your balance. This shows you how much money you have left at the end of the month or if you are overspending.
Example:
| Month | Income | Expenses | Balance |
| January | 4,400 | 3,100 | 1,300 |
| February |
If the result is positive, great!
That’s how much extra you have available for savings or discretionary spending. If it’s negative, it’s time to look closely at your expenses to see where you can adjust.
Step 6: Categorise Your Expenses for Better Insights
Categorising your expenses helps you quickly see where most of your money is going. Group them into categories such as:
- Housing (rent, mortgage, utilities)
- Transportation (car payments, gas, public transit)
- Food (groceries, dining out)
- Entertainment (movies, hobbies)
- Health (insurance, doctor visits, gym)
- Debt payments (credit cards, student loans)
By categorising, you’ll start seeing trends. Perhaps dining out takes a big chunk of your monthly spending.
This awareness helps you make informed decisions about where to cut back if necessary.
Step 7: Adjust and Review Regularly
Once you’ve set up your worksheet, it’s important to review and update it regularly—ideally, every month. Make this a routine, whether at the end of the month or right after payday. Reviewing your worksheet helps you stay on track; over time, it will become a habit you enjoy rather than dread.
If your spending habits change over time (which they often do), feel free to adjust your categories and the structure of your worksheet.
Step 8: Use Built-In Spreadsheet Features for Automation
If you’re using a spreadsheet, use the formulas and built-in features to save time. For example:
- SUM function: Automatically add up your income and expenses columns.
- Conditional formatting: Highlight any negative balances so they’re easy to spot.
- Charts: Visualize your spending by category with pie or bar charts, which can be motivating.
You don’t need to be a technical expert—these features are intuitive and can be found easily in Excel or Google Sheets. Tutorials are also widely available if you need help.
Step 9: Set Financial Goals and Track Progress
Your income and expense worksheet is not just for tracking your spending.
It can also help you set and reach financial goals. Whether saving for an emergency fund, a holiday, or paying down debt, add these goals to your worksheet and track your progress.
For example, create a new column labelled “Goals” and list monthly amounts you’d like to save or pay off. Seeing your progress can be extremely motivating.
How to Create an Income and Expense Worksheet: It’s About Progress, Not Perfection
You don’t need to be a financial guru or a spreadsheet expert to create and maintain an income and expense worksheet.
Most important is starting the process, being consistent, and adjusting as necessary. Over time, you’ll gain more insight into your finances, empowering you to make better decisions and feel more in control of your money.
Remember, it’s about progress, not perfection.
Even small steps toward financial awareness and stability are worth celebrating!
***
By following this guide, you’ve taken a big step toward mastering your finances. Don’t forget to revisit your worksheet regularly and adapt it as your life and financial situation evolve.
Happy budgeting!